Home / Columns / Assembly Instructions
Assembly Instructions
An illustrated, step-by-step build for the Columns, using the materials listed in the Bill of Materials.
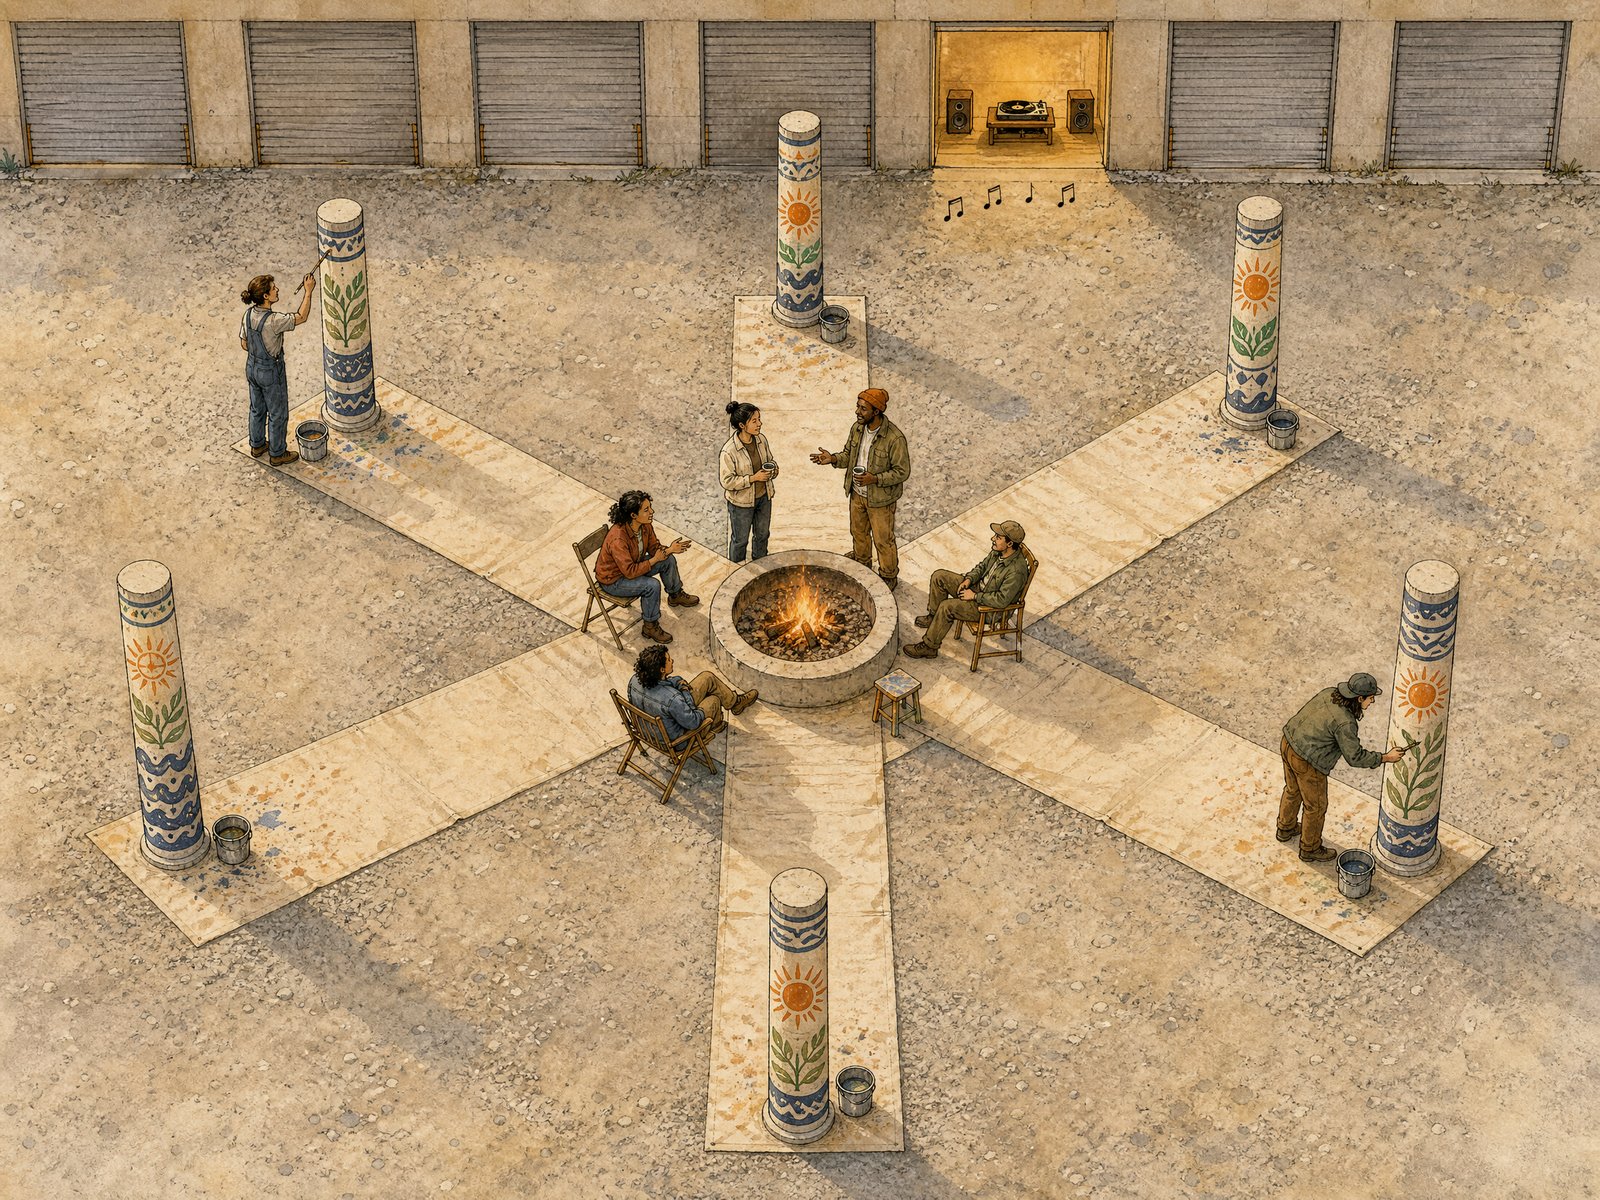
The illustrations on this page — including the full installation vision above and the steps below — are AI-generated approximations, not photos of the actual build, and will likely be replaced with real photos over time. See the AI Disclaimer.
Before you start
This guide uses an 8 ft tall, 12” diameter Sonotube — adjust the wire and paper quantities if you build at a different size. It follows the removable-shell method: the stretch-wrap layer lets the finished paper, tape, and wire shell slide off the Sonotube after the paint has dried, so the same tube gets reused as the template/mold for the next column.
| Build order | What you add | Why it matters |
|---|---|---|
| 1 | Sonotube form | Establishes the finished height and round shape. |
| 2 | Wire mesh | Gives the shell rigidity and a textured structure. |
| 3 | Stretch wrap | Smooths the mesh and provides a release layer. |
| 4 | Carpet tape | Creates an adhesive grid for the paper skin. |
| 5 | Kraft paper | Becomes the paintable outer shell. |
| 6 | Paint | Makes the finished column your own. |
Prep the form
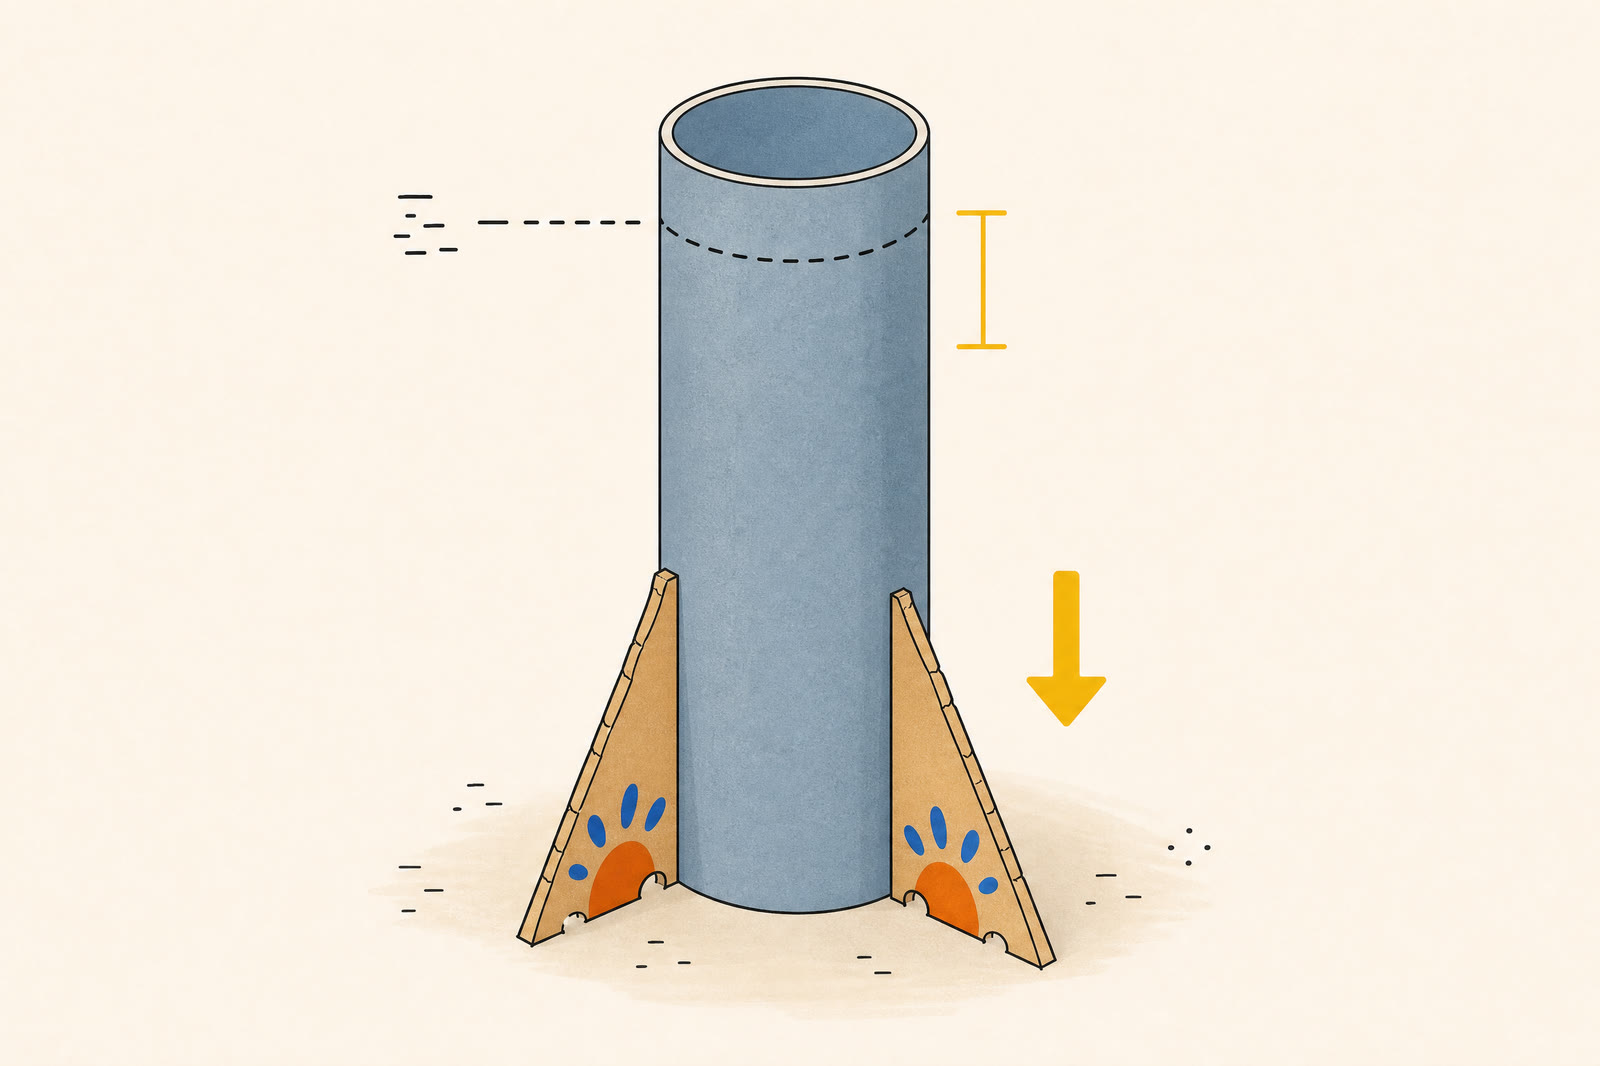
Cut the Sonotube to its finished height, stand it upright, and brace it so it cannot tip while you work.
- Cut the Sonotube to the finished column height.
- Stand it upright and brace it so it can’t tip while you work.
Wrap the wire layer
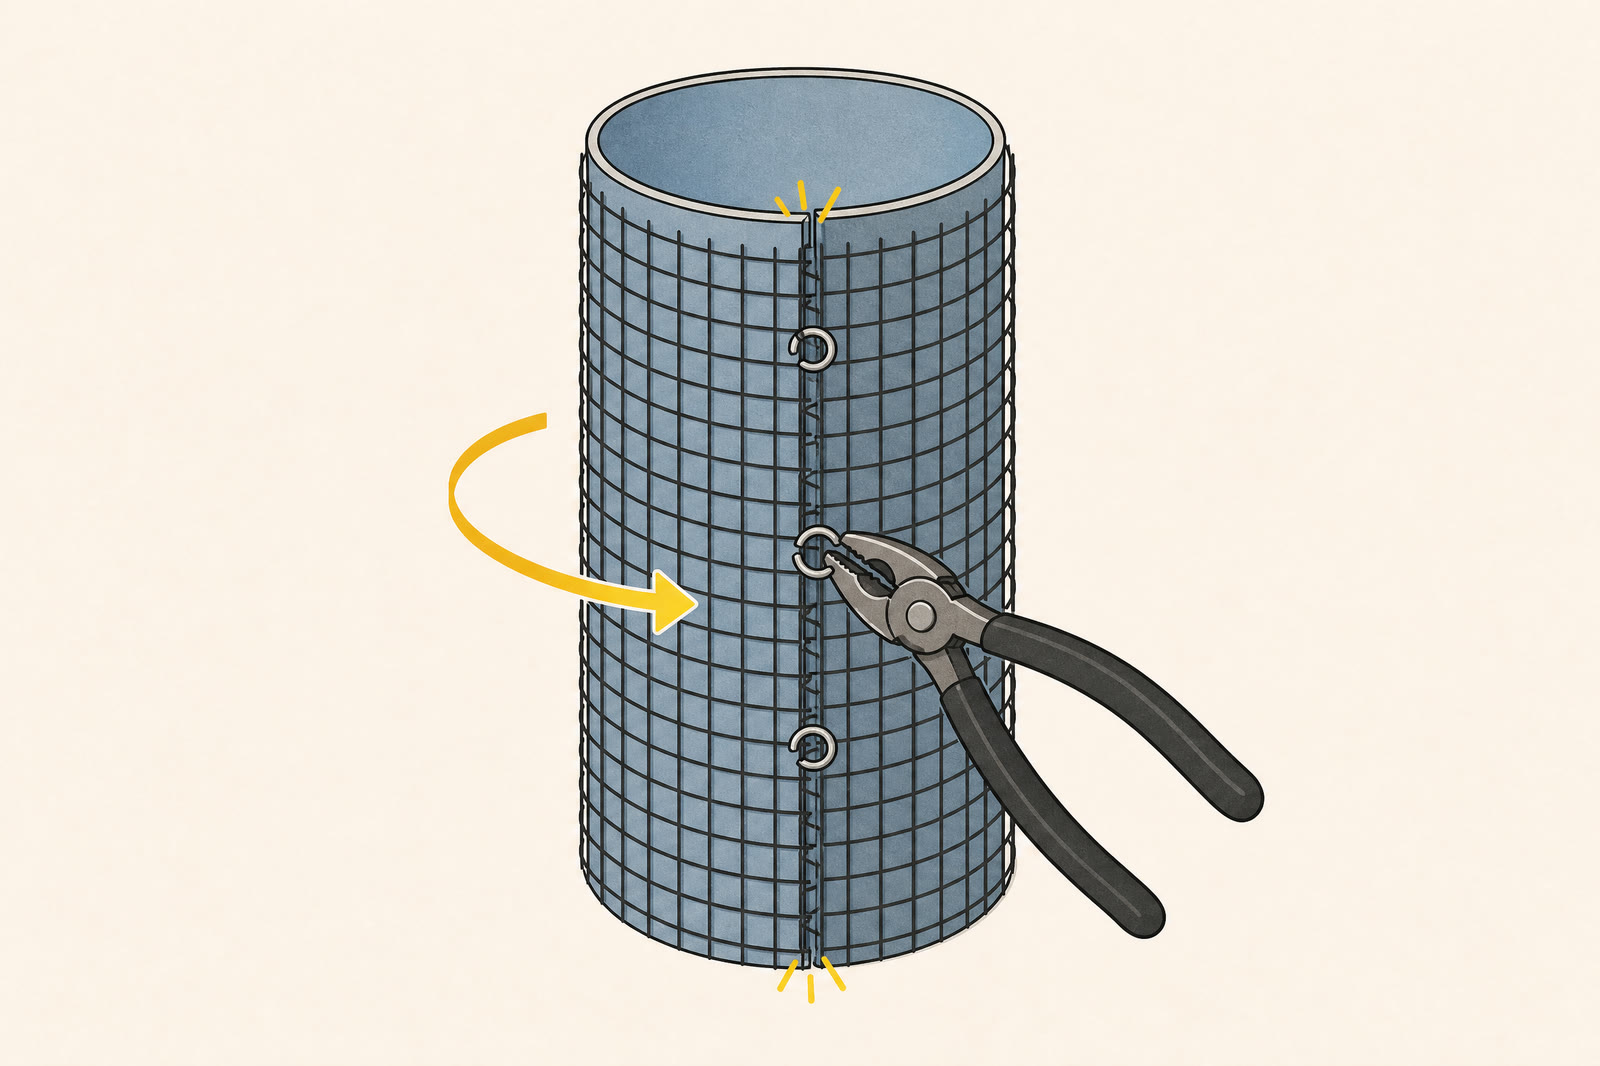
Wrap hardware cloth around the form, overlap the seam, and cinch it closed with zip ties.
- Unroll the hardware cloth and wrap it around the Sonotube, overlapping the seam by a couple inches.
- Cinch the seam and the top/bottom edges with zip ties through the mesh, pulled tight and trimmed flush so the tails don’t bump through the layers on top.
- This layer gives the column its rigidity and a rough surface texture to build on.
Add stretch wrap
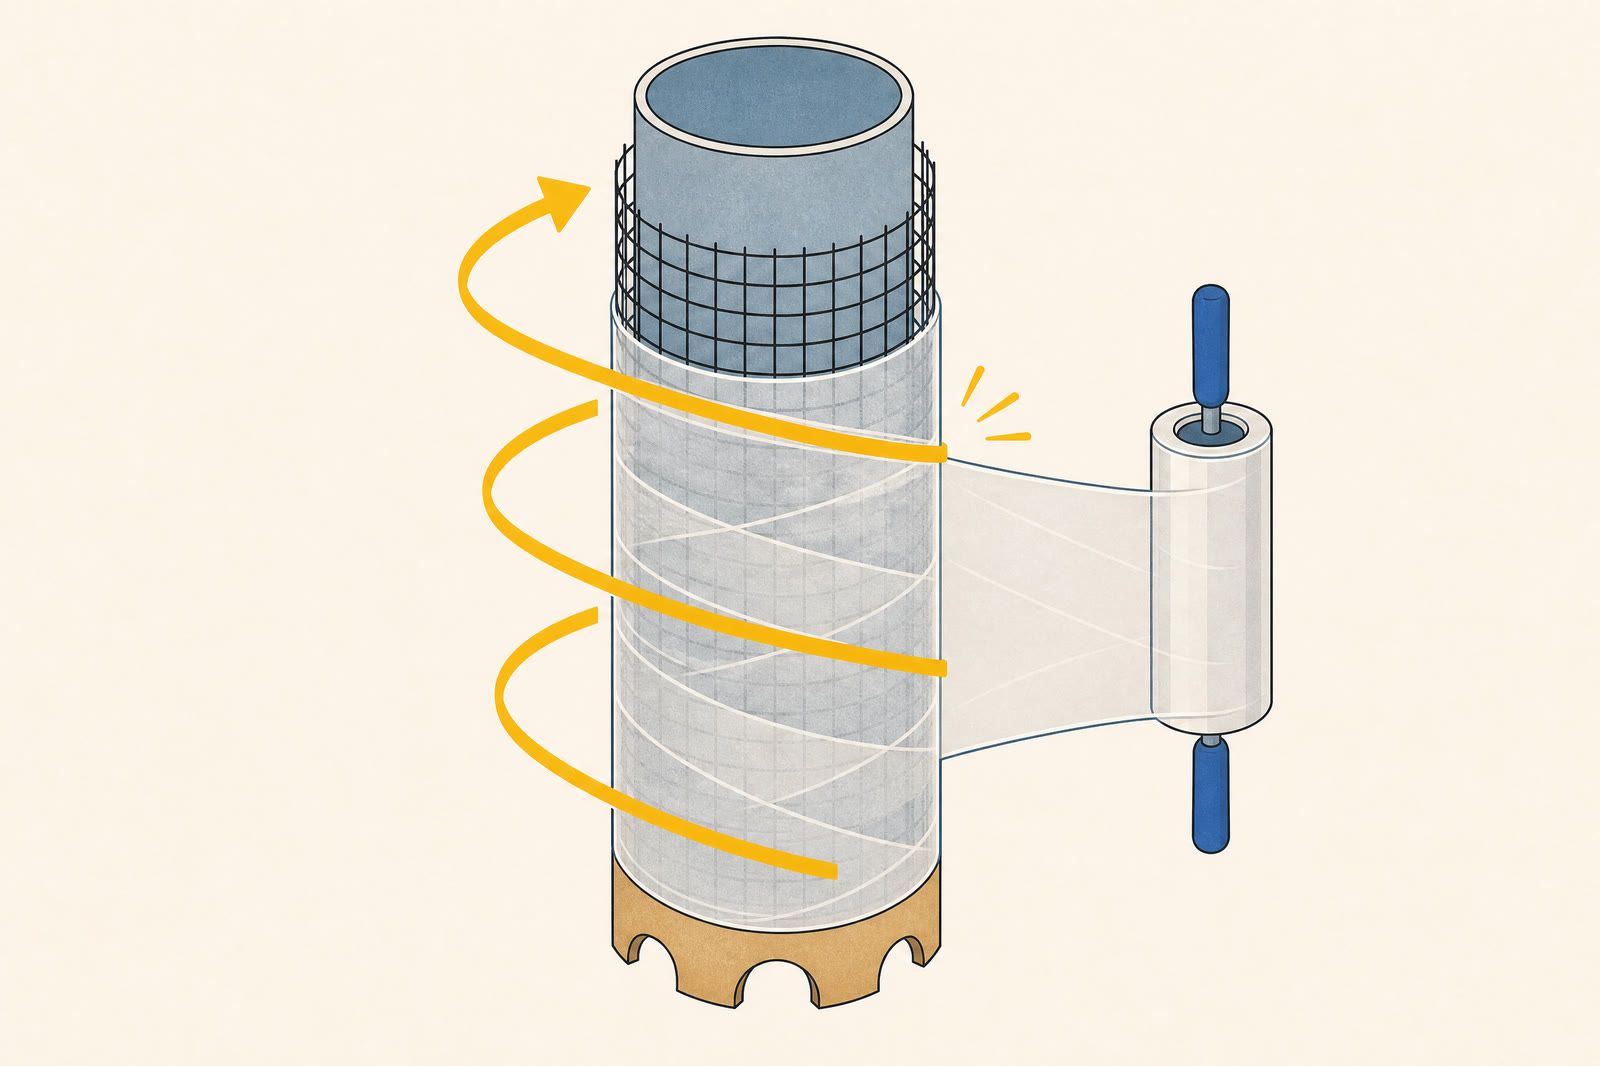
Wrap the stretch film tightly from bottom to top, keeping each overlapping band smooth and taut.
- Wrap the stretch film tightly around the wire, working bottom to top in overlapping bands so it stays taut and smooths over the mesh bumps.
- This layer also acts as a release film between the Sonotube form and the paper shell, letting the finished shell slide free so the Sonotube can be reused as the template for the next column.
Make a tape grid
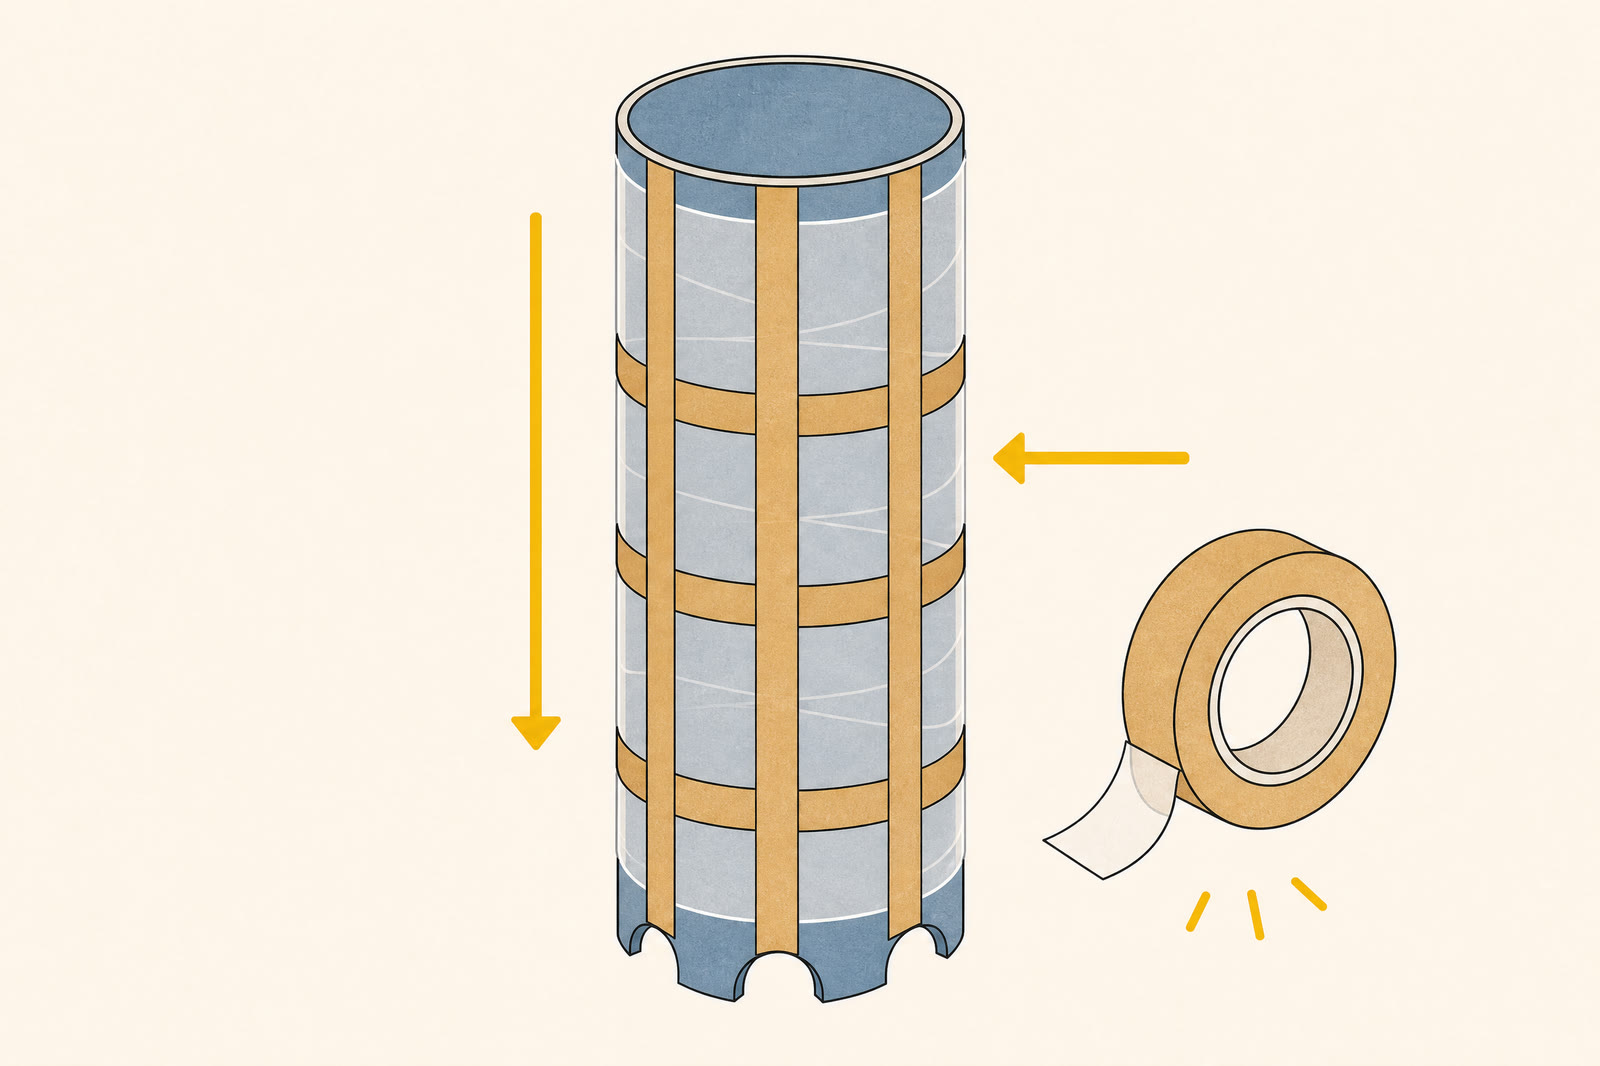
Apply vertical tape strips first, then add horizontal bands to create a full adhesive grid.
- Run strips of double-sided carpet tape over the stretch wrap—vertically first (top to bottom), then a horizontal band every foot or so—to build an adhesive grid the paper will stick to.
- Leave the backing on until just before you press paper over each strip.
Build the paper skin
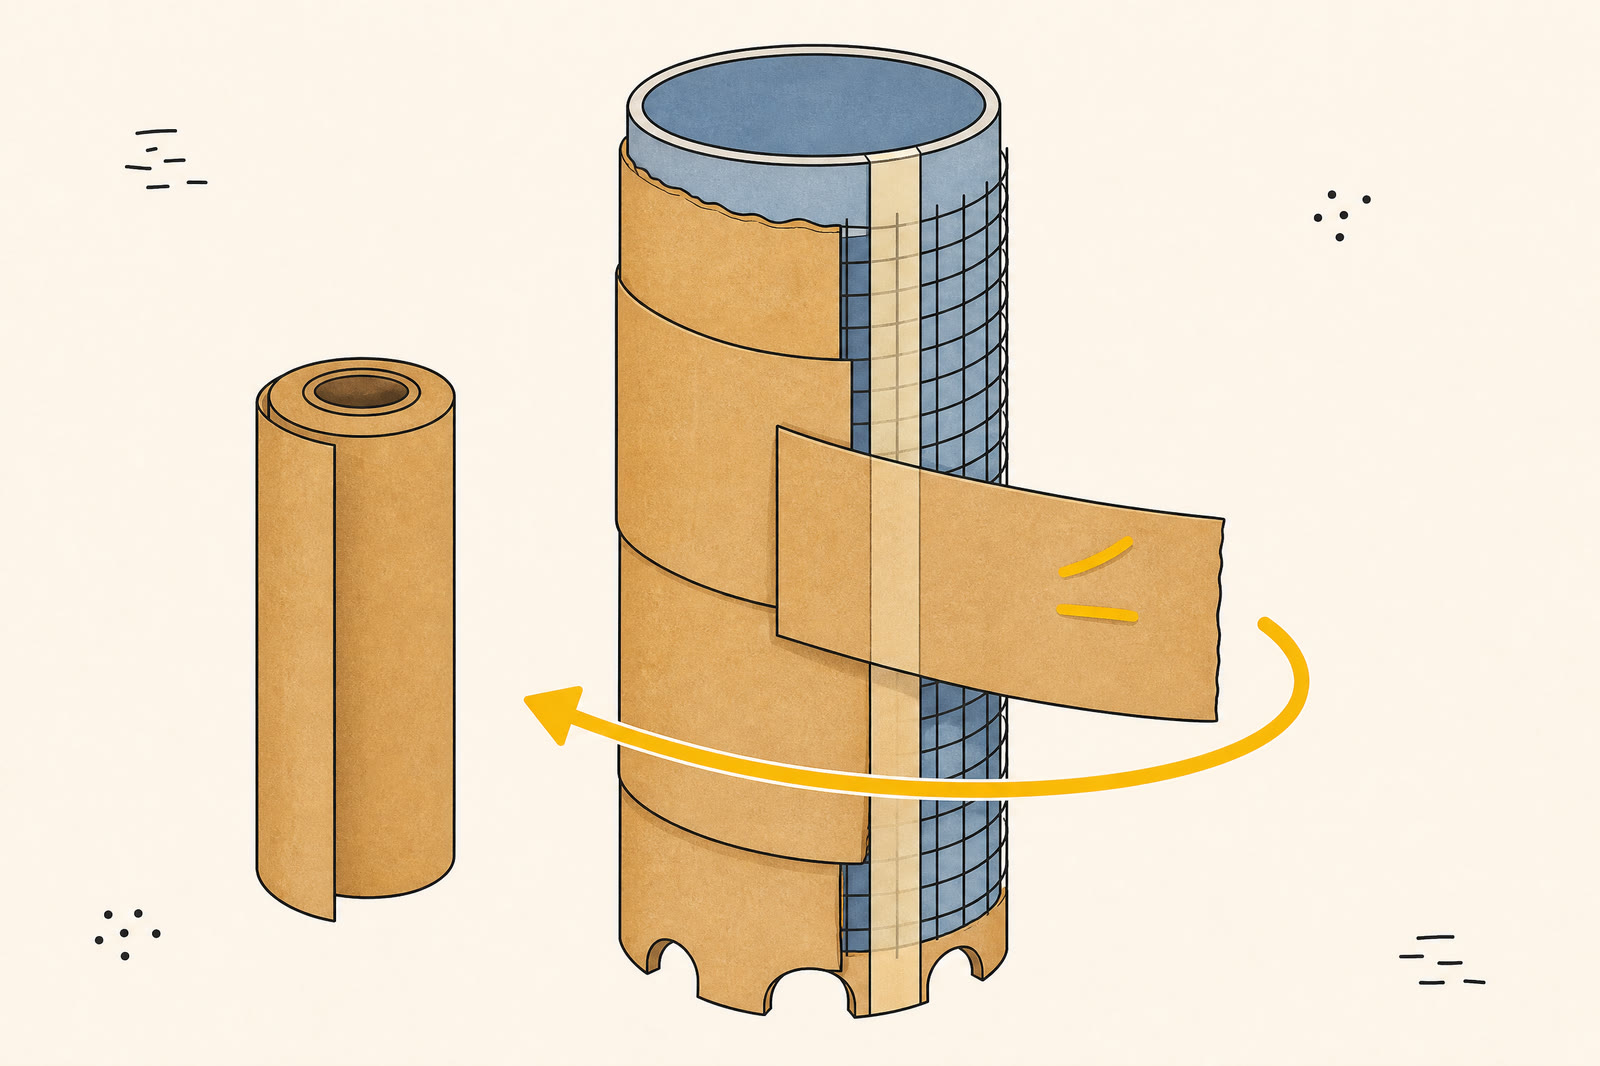
Apply overlapping kraft-paper strips one section at a time, pressing every strip firmly across at least one tape line.
- Tear or cut the butcher paper into workable strips.
- Peel the tape backing a section at a time and press the paper on, overlapping each strip over the last by an inch or two, wrapping all the way around the circumference and up the full height.
- Smooth out air pockets as you go. The tape grid underneath is what holds the shell together, so make sure every strip crosses at least one taped line.
Paint the shell
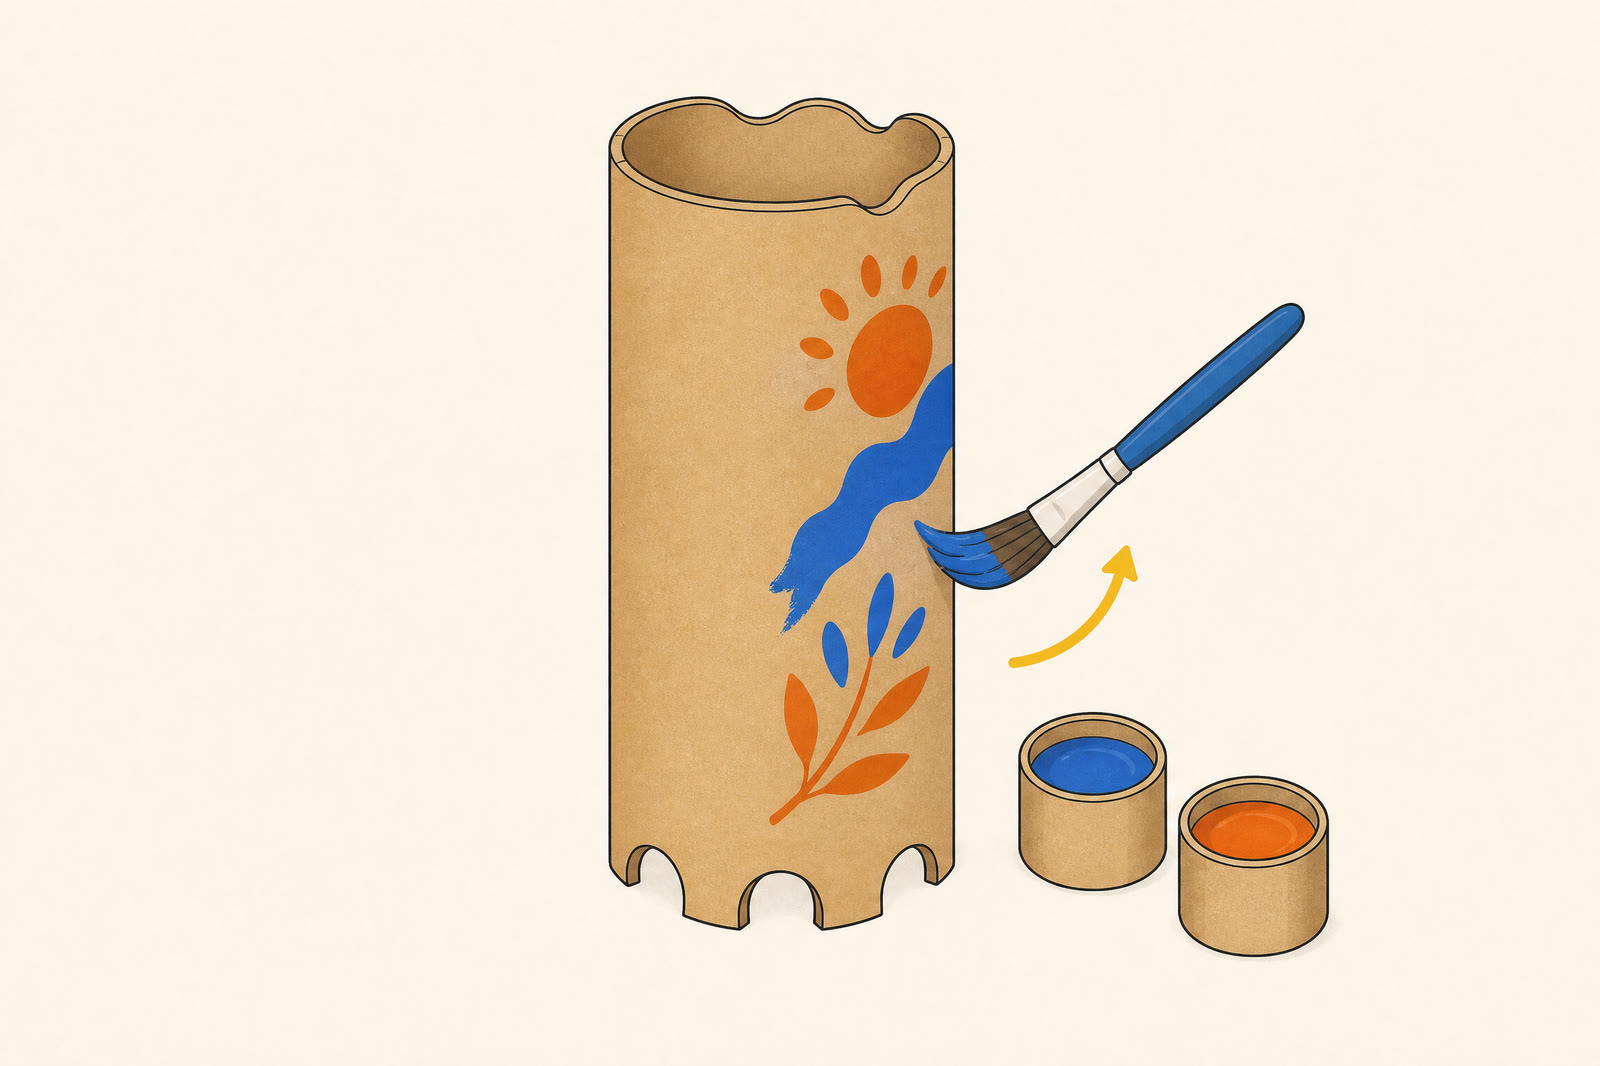
Paint only after the paper shell is fully wrapped, then allow each coat to dry before handling the column.
- Once the paper shell is fully wrapped and any adhesive has set, paint with the tempera paint using the foam brushes.
- Let each coat dry before handling the column.
Release the shell
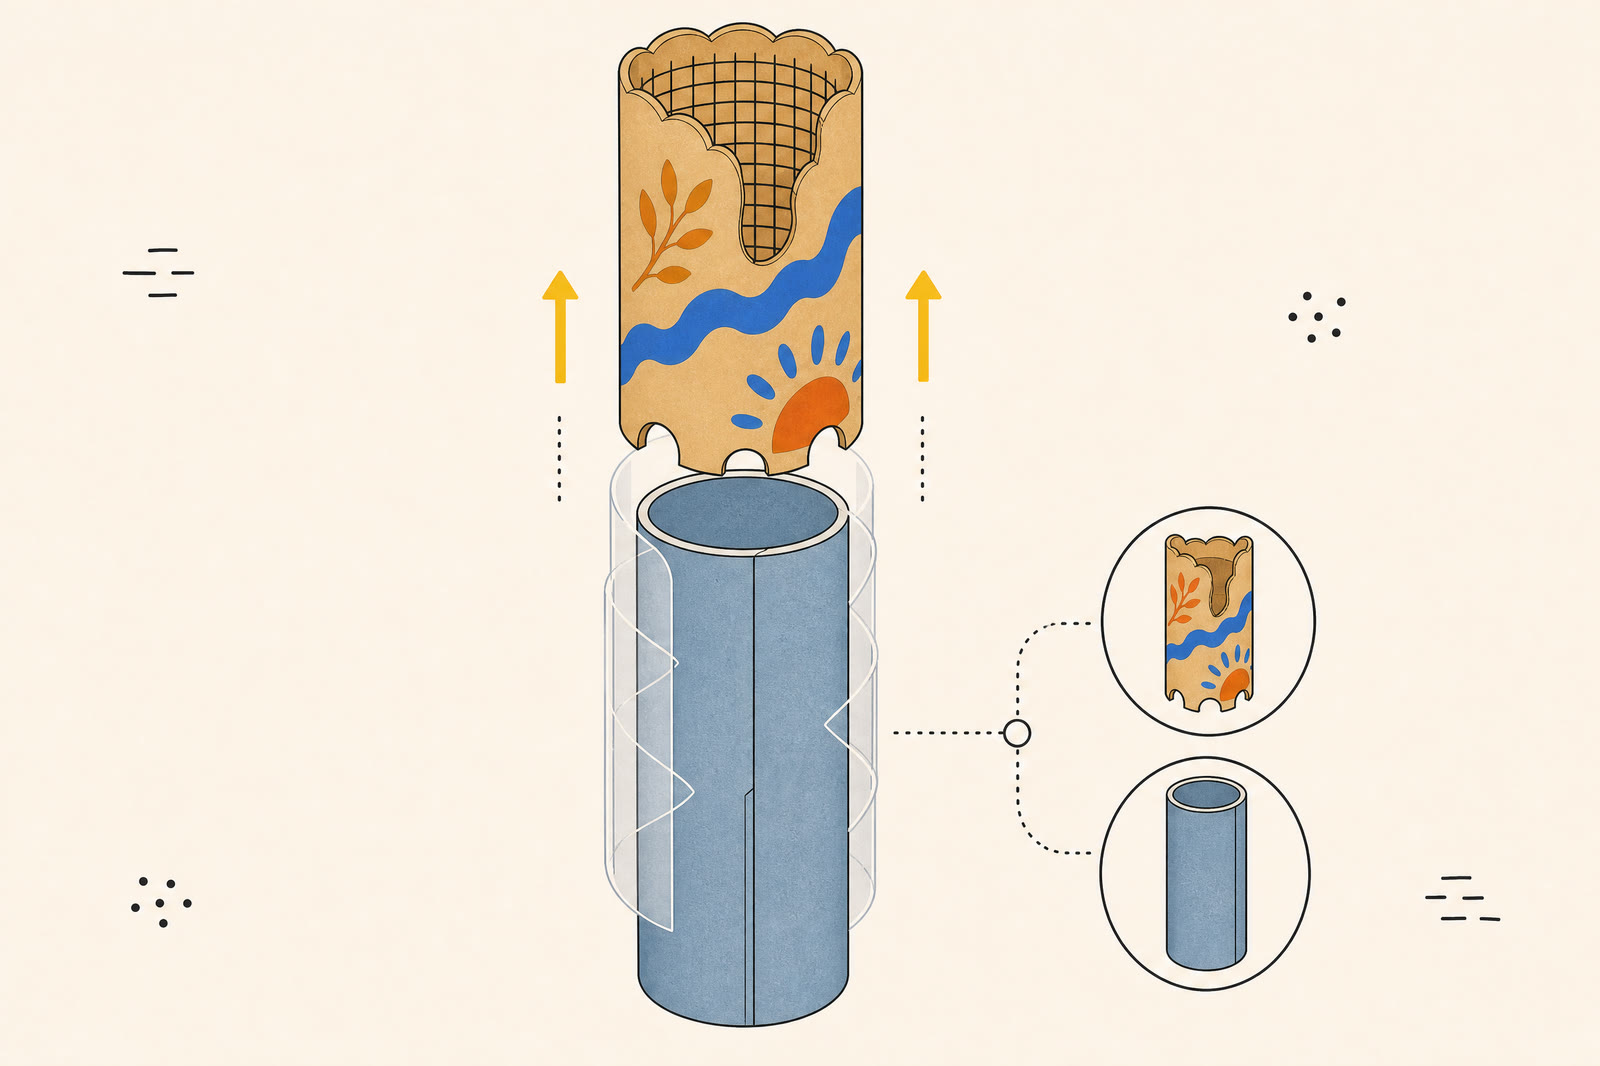
After the paint is dry, slide the shell free from the Sonotube and set the tube aside to build the next column.
- Once the paint is dry, carefully work the paper/tape/wire shell loose from the Sonotube. The stretch-wrap layer should let it slide free.
- Set the Sonotube aside — it becomes the reusable template/mold for the next column.
Reuse the Sonotube for the next column
The Sonotube isn’t part of the finished column — it’s a reusable template. Once a shell is released in step 7, the same tube goes back to step 2 to build the wire, stretch-wrap, tape, and paper layers for the next column.
Final checks
Before moving the column into place, confirm that the paper is securely bonded to the tape grid, the paint is dry to the touch, and the finished form is stable for its intended installation. Keep the detailed materials list close by for future builds or repairs.